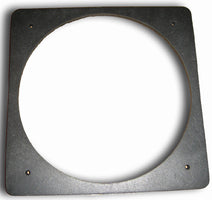
Install Kit for 70P Compass

Install Kit for 70P Compass
Install Kit for 70P compass -- compass sold separately
Gasket for 70P compass, KIT (with 4 screws to fit kayaks)
Includes:
Instructions
1 Gasket 1/8" thick foam rubber -- Fits between the Compass and Kayak Deck.
4 SS 18-8 #4 Philips Pan Head Tapping Screws -- replaces the extra long screws that come with the compass
Notes:
The gasket helps fill gaps making it less prone to things catching on the compass and damaging it. So it's fine for it to stick out it is not intended to seal water out.
Use a micro Philips screwdriver size Zero or smaller.
For roto-molded polyethylene kayaks use a 3/32" drill bit. For composite (fiberglass etc.) and thermo-formed kayaks use a 5/64" drill bit and run it in and out a few times to slightly oversize the holes.
After drilling the four mounting holes in the kayak's recess:
Swap out the original mounting screws (which are too long) the install kit screws one-at-a-time. Before putting a new screw into the compass, squeeze and hold the brass plate against the compass's black plastic bezel. Install the screw all the way into the bezel such that the brass plate is tight against the back of the bezel. Repeat with the remaining screws.
With new screws installed in the compass, set compass and gasket on the kayak's deck recess and giggle the compass so as to feel the tips of the screws starting in their holes that you drilled. Unscrew all four screws half way. One-at-a-time unscrew a screw until you can push the bezel flush against the deck then screw that screw in most of the way while holding the bezel flush against the deck. Repeat with the remaining screws. Spin compass ball until the front and back "lubber line" line up when viewed from the cockpit. Hold the compass from rotating while finishing tightening all four screws.
Open a beer and celebrate!